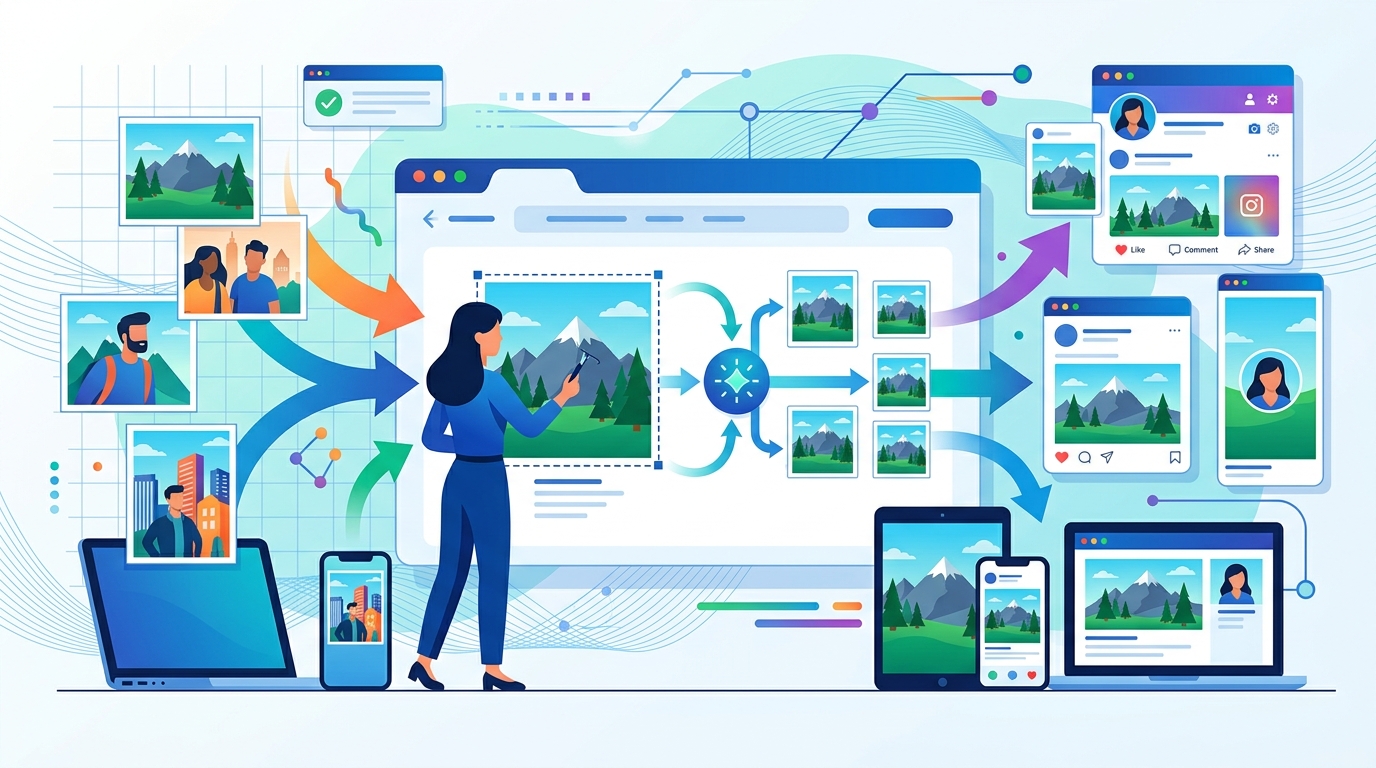
Compress Image Without Losing Quality: The Ultimate Guide
By Doffl Team · · 8 min read

In today's digital world, images are everywhere – from personal photos on your phone to product shots on an e-commerce site. While beautiful, high-resolution images can be quite large, leading to slow loading times, increased storage costs, and a frustrating user experience. The good news is you can often compress image without losing quality significantly. This guide will walk you through the why and how, ensuring your visuals remain stunning while their file size shrinks.
Why Image Compression Matters
Optimizing your images isn't just a technical detail; it's crucial for several reasons, impacting everything from user experience to your bottom line.
Website Performance and SEO
Slow websites are a major turn-off. A study by Google found that 53% of mobile users abandon sites that take longer than three seconds to load. Large image files are often the biggest culprits for slow page speeds. By compressing images, you:
- Improve Loading Times: Faster pages mean happier visitors and lower bounce rates.
- Boost SEO Rankings: Search engines like Google prioritize fast-loading websites, which can lead to better visibility in search results.
- Enhance User Experience: Visitors are more likely to stay on your site, explore more content, and convert.
Storage Space and Bandwidth
Whether you're managing a personal photo archive or a large corporate website, storage costs and bandwidth usage add up. Smaller image files mean:
- Reduced Storage Costs: Less space needed on servers, cloud storage (like Google Drive or AWS S3), or even your local hard drive.
- Lower Bandwidth Consumption: Especially important for websites with high traffic or for users in regions with slower internet or data caps (like many mobile users in India).
- Faster Uploads/Downloads: Sharing photos with friends or uploading them to social media becomes quicker.
Email Marketing and Social Media
Sending emails with large attachments can clog inboxes and get flagged as spam. Similarly, social media platforms often compress your images automatically, sometimes with undesirable results. By pre-compressing, you ensure:
- Faster Email Delivery: Emails with optimized images load quickly for recipients.
- Consistent Quality: Your images look their best when uploaded to platforms like Instagram, Facebook, or LinkedIn, as you control the initial compression.
Understanding Image Compression: Lossy vs. Lossless
Before we dive into the 'how,' it's essential to understand the two main types of image compression.
Lossless Compression
Lossless compression reduces file size without discarding any image data. When you decompress a losslessly compressed image, it's an exact replica of the original. Think of it like zipping a document – you can always get the original back perfectly.
- Pros: Perfect image quality, no degradation.
- Cons: Smaller file size reduction compared to lossy methods.
- Best for: Images where absolute fidelity is critical (e.g., medical images, legal documents, graphics with sharp lines, images you plan to edit further).
- Common File Formats: PNG, GIF, RAW, some TIFF.
Lossy Compression
Lossy compression works by selectively discarding some image data that the human eye is less likely to notice. This results in a much smaller file size, but the removed data cannot be recovered. It's like summarizing a book – you get the main points, but some details are gone.
- Pros: Significant file size reduction.
- Cons: Some loss of image quality (though often imperceptible at reasonable compression levels).
- Best for: Web images, photographs, and situations where some quality trade-off is acceptable for massive file size savings.
- Common File Formats: JPEG (most common), WebP.
The key to compressing images without losing quality (perceptibly) lies in finding the right balance with lossy compression or using lossless methods for specific image types.
Choosing the Right Image Format
The file format itself plays a huge role in compression efficiency and quality.
- JPEG (JPG): The go-to for photographs and complex images with many colors and gradients. It uses lossy compression, offering excellent file size reduction with adjustable quality. Ideal for most web photos.
- PNG: Best for images with transparency, sharp edges, text, or a limited color palette (like logos, icons, screenshots). PNG supports lossless compression, ensuring perfect clarity. PNG-8 (256 colors) can be smaller than PNG-24 (full color).
- GIF: Suitable for simple animations and images with very few colors (up to 256). It uses lossless compression. Not ideal for photographs.
- WebP: A modern format developed by Google that supports both lossy and lossless compression. It often provides superior compression compared to JPEG and PNG at similar quality levels. Gaining widespread browser support, it's an excellent choice for web optimization.
- SVG: A vector image format (not pixel-based) for logos, icons, and illustrations. Scales perfectly at any size without quality loss and has tiny file sizes. Not for photographs.
Pro Tip: For most photographs on the web, convert them to JPEG or WebP. For logos, icons, or images with transparency, use PNG or SVG.
Step-by-Step: How to Compress Images Without Losing Quality (Visually)
Let's get practical. Here are various methods and tools you can use to reduce your image file sizes effectively.
1. Using Online Image Compressor Tools (Recommended for Ease)
Online tools are incredibly convenient, require no software installation, and often provide excellent results. Doffl's Image Converter/Compressor is a perfect example.
How to Compress with Doffl's Image Converter/Compressor:
- Go to the Tool: Navigate to the Image Converter/Compressor page on Doffl.
- Upload Your Image(s): Click the 'Upload Image(s)' button or drag and drop your image files (JPEG, PNG, WebP, etc.) into the designated area. You can upload multiple images at once.
- Choose Output Format and Quality:
- Select Output Format: For photos, choose 'JPG' or 'WebP'. For images with transparency or sharp graphics, choose 'PNG'.
- Adjust Quality (for JPG/WebP): Look for a 'Quality' slider or input field. Start with a quality setting around 70-80%. This often provides significant file size reduction with minimal perceptible quality loss. Experiment with lower values if you need even smaller files, always checking the preview.
- Lossless Compression (for PNG): If converting to PNG, the tool will typically apply lossless compression by default, or offer an option for it.
- Compress and Preview: The tool will process your images. Many tools, including Doffl's, will show you the original size, the compressed size, and the percentage of reduction. Some even offer a side-by-side comparison.
- Download Your Optimized Images: Once satisfied, click 'Download' to save your new, smaller image files.
Example: You have a 5MB JPEG photo from your camera. Uploading it to the Doffl Image Converter/Compressor, converting to WebP with 75% quality might reduce its size to 500KB – a 90% reduction, often with no visible difference in quality.
2. Desktop Software for Advanced Control
For more advanced users or those who prefer offline tools, desktop software offers greater control.
- Adobe Photoshop/Lightroom: Professional tools with extensive options for saving images for web, allowing precise control over quality, format, and resolution. Use 'Save for Web (Legacy)' in Photoshop for fine-tuning.
- GIMP (Free & Open Source): A powerful alternative to Photoshop. When exporting as JPEG, you can adjust the quality slider. For PNG, it offers options for compression levels.
- Affinity Photo: A popular, one-time purchase alternative to Adobe products, also offering robust image compression features.
How-To (General for Desktop Software):
- Open your image in the software.
- Go to 'File' -> 'Export' or 'Save for Web'.
- Select your desired format (JPEG, PNG, WebP).
- Adjust the quality slider (for lossy formats like JPEG/WebP) or compression level (for lossless PNG).
- Preview the image and file size. Save the optimized version.
3. Using Image Optimization Plugins (for Websites)
If you run a website on platforms like WordPress, plugins can automate image compression upon upload.
- Smush: A popular WordPress plugin that automatically compresses and optimizes images as you upload them. It offers both lossless and intelligent lossy compression.
- Imagify: Another excellent WordPress plugin that optimizes images on the fly, converting them to WebP and offering different compression levels.
- ShortPixel: Provides advanced compression options, including lossy, glossy, and lossless, and can convert images to WebP.
These plugins work in the background, ensuring all your website images are optimized without manual effort.
4. Resizing Images Before Compression
One of the most effective ways to reduce file size is to simply reduce the image's dimensions (width and height) to what's actually needed. A 4000x3000 pixel image for a blog post that only displays at 800x600 pixels is overkill.
- Determine Required Dimensions: Check your website's layout or the specific use case. For example, a typical blog post image might only need to be 800-1200 pixels wide.
- Resize First: Use Doffl's Image Converter/Compressor (which also includes resizing options), desktop software, or even your operating system's built-in tools (like Paint on Windows or Preview on Mac) to resize the image.
- Then Compress: After resizing, apply the compression techniques mentioned above.
Example: An e-commerce site selling products in India might require product images to be 1000x1000 pixels. If your camera takes 6000x4000 pixel photos, resize them first before compressing. This alone can cut the file size by a huge margin.
5. Leveraging Modern Formats like WebP
As mentioned, WebP offers superior compression compared to older formats. If your audience uses modern browsers (which most do), converting your JPEGs and PNGs to WebP can yield significant savings.
- Use Doffl's Image Converter/Compressor: This tool allows you to easily convert your existing images to WebP.
- Implement via CMS/Plugins: Many website platforms and plugins now support WebP conversion and delivery automatically.
Best Practices for Image Compression
- Always Backup Originals: Before making significant changes, always keep a copy of your original, uncompressed images.
- Experiment with Quality: There's no one-size-fits-all quality setting. For JPEGs, a quality setting of 70-85% often provides a great balance between file size and visual fidelity. For PNGs, try different compression levels if available.
- Check Visual Quality: After compression, always open the image and zoom in to ensure there are no noticeable artifacts or degradation, especially in critical areas.
- Consider Lazy Loading: For websites, implement lazy loading. This means images only load when they enter the user's viewport, further speeding up initial page load times.
- Optimize Other Media: Remember that PDFs can also contain large images. Tools like Doffl's PDF Toolkit can help optimize PDF file sizes.
- Extract Text from Images: If you have images with text and only need the text, consider using an Image to Text (OCR) tool to extract the text and reduce the need for large image files.
Conclusion
Mastering image compression is a vital skill in the digital age. By understanding the different compression types, choosing the right formats, and utilizing effective tools, you can significantly reduce file sizes while maintaining excellent visual quality. This leads to faster websites, lower storage costs, and a much better experience for your audience, whether they're browsing your portfolio, reading your blog, or shopping online.
Ready to make your images load faster and take up less space? Head over to Doffl's Image Converter/Compressor today and start optimizing your visuals with ease!
Tags: Image Optimization, Web Performance, Digital Photography, File Size, Storage