How to Make Passport Size Photos at Home and Print Them on One Sheet
By Doffl Team · · 7 min read
Every few months, someone in the family needs passport size photos: a passport renewal, a visa application, a new SIM card, a college admission form, an exam registration or a bank KYC update. The usual routine is a trip to the local photo studio, a short wait, and a small sheet of prints that rarely lasts until the next form.
You can do the same job at home with a phone camera and a free browser tool. This guide walks you through taking a usable photo, cropping it to the right size, putting a clean white background behind it, laying out several copies on one sheet and printing it, plus how to make a small digital copy for online forms.
What a passport size photo usually needs
Before you take the picture, it helps to know what officials look for. Requirements differ by country and by document, so always check the latest official rules for the exact application you are filling in. Most passport and visa photos share the same basics:
- Size: in India, the common passport photo size is 35 x 45 mm. US passports and visas use 2 x 2 inches (51 x 51 mm). Many other countries also use 35 x 45 mm.
- Background: plain and light, usually white or off-white, with no patterns or shadows.
- Face: looking straight at the camera, eyes open, neutral expression, mouth closed.
- Framing: the head and the top of the shoulders, with the face taking up most of the height of the photo.
- Quality: sharp focus, even lighting, natural skin colour, no filters or beauty effects.
- Accessories: many authorities ask you to remove glasses and anything that covers the face. Religious head coverings are often allowed if the face is fully visible, but check the specific rules.
If you keep these points in mind while shooting, the rest of the process is quick.
Step 1: Take the photo with your phone
You do not need a studio. A modern phone camera and good daylight are enough.
- Stand in front of a plain, light wall. A white or cream wall works best. Stand about half a metre away from it so your body does not cast a shadow on the wall.
- Face a window. Soft daylight from the front gives even light on both sides of the face. Avoid harsh overhead bulbs and direct afternoon sun.
- Ask someone else to take the picture. Selfies distort the face because the lens is too close. Have the helper stand about 1 to 1.5 metres away and hold the phone at your eye level.
- Use the normal photo mode. Turn off portrait mode, beauty mode and filters. Keep the flash off unless the room is dark.
- Leave space around the head. Frame from the middle of the chest up, with some room above the hair. You will crop later, so a slightly wider shot is better than a tight one.
- Take several shots. Blinks and half-smiles happen. Pick the sharpest one with a neutral expression.
Example: Priya needs photos for her passport renewal. She stands facing her balcony door in the morning, her brother takes ten photos from about a metre away, and she picks the one where her eyes are fully open and her shoulders are level.
Step 2: Crop and size the photo correctly
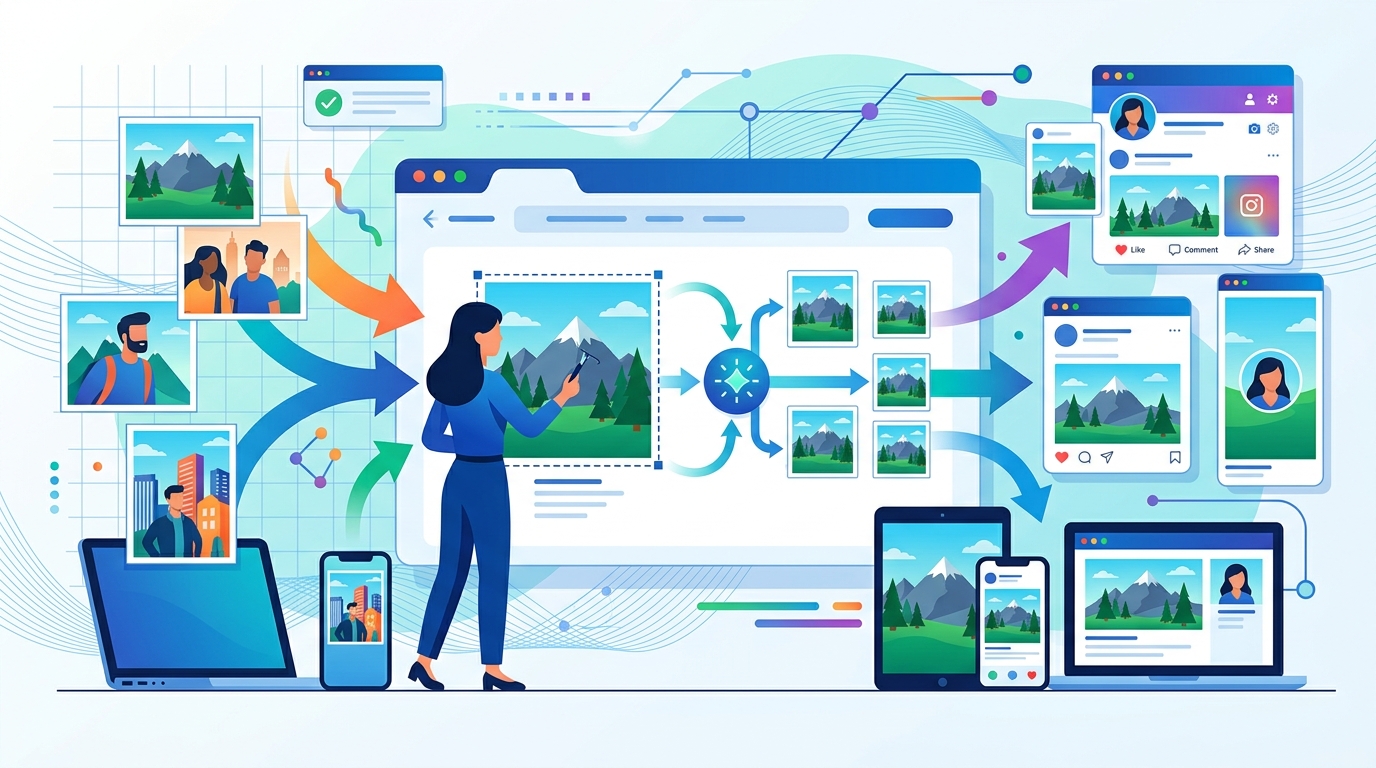
Now turn the phone photo into a correctly sized passport picture. Open the free Passport Photo Generator in your browser. It runs in the browser, so you do not need to install an app or create an account.
- Upload your chosen photo.
- Select the size you need, for example 35 x 45 mm for an Indian passport or 2 x 2 inch for a US visa.
- Move and zoom the crop box so the face is centred, the eyes sit in the upper half of the frame, and there is a small gap between the top of the head and the edge.
- Check that both ears and both shoulders are roughly level. If your head was tilted, try a different shot instead of forcing it.
If you only need to trim a photo to a custom shape for another purpose, such as a profile picture or a staff ID, the Image Cropper gives you a free-form crop.
Step 3: Get a clean white background
A slightly grey or uneven wall is the most common reason home photos look different from studio prints. The Passport Photo Generator includes a white background adjustment, so after cropping:
- Apply the white background option.
- Zoom in on the edges of the hair and shoulders. They should look natural, without a halo or missing strands.
- Compare the result with the original. Skin tone and features must stay the same. Officials reject photos that look edited.
If the edges look messy, the problem is usually the original photo. Retake it with more light on the wall behind you, and the result improves a lot.
Step 4: Print several photos on one sheet
Printing one photo at a time wastes paper and money. Instead, create a sheet with many copies and print it once.
- In the Passport Photo Generator, choose a sheet size: 4 x 6 inch photo paper, A4, A5 or Letter.
- Preview the layout. On a 4 x 6 inch sheet you usually get around 6 to 8 photos of 35 x 45 mm, depending on spacing for cutting. A4 fits many more.
- Download the sheet as a high-quality file.
- Print at 100% / actual size. In the print dialog, turn off "fit to page" or "scale to fit", or the photos will come out slightly smaller than 35 x 45 mm.
Where to print: a home inkjet with glossy photo paper works well. You can also carry the file on your phone or a pen drive to a nearby photo shop or cyber cafe and ask for a single 4 x 6 print. That is usually much cheaper than a full studio session, and you get the same number of photos.
Cutting tip: use a ruler and a sharp paper cutter rather than scissors, so the edges stay straight and the size stays exact.
Step 5: Make a small digital copy for online forms
Many Indian online applications, such as exam registrations, scholarship portals, bank forms and government services, ask you to upload a photo instead of pasting a print. These forms usually set strict limits, such as a maximum file size of 20 KB, 50 KB or 100 KB, a JPG format, and sometimes exact pixel dimensions.
Use the Image Resizer for this:
- Upload the cropped passport photo (not the full sheet).
- Enter the pixel width and height the form asks for, if any.
- Set the target file size, for example 50 KB.
- Download the JPG and check the file size before you upload it.
Useful numbers: at 300 DPI, a 35 x 45 mm photo is about 413 x 531 pixels, and a 2 x 2 inch photo is 600 x 600 pixels. If a form asks for a different pixel size, follow the form.
Many forms also ask for a scanned signature with similar limits. Sign on plain white paper with a black or blue pen, photograph it in good light, crop tightly and resize it the same way.
Common mistakes that get photos rejected
- Shadows on the face or the wall from overhead lights. Face a window instead.
- Selfie distortion that makes the nose look larger. Let someone else take the photo from a metre away.
- Head too small or too large in the frame. Re-crop so the face fills most of the height.
- Smiling with teeth, tilted head or eyes not fully open. Keep a neutral face and look straight at the lens.
- Filters and heavy editing. Use the plain camera mode.
- Wrong print scale. Always print at 100% so the size stays exact.
- Old photos. Many applications want a recent photo, often taken within the last few months. Check the rules for your form.
Other places you can reuse the same photo
Once you have a good, correctly cropped photo, keep the file safe. The same image works for office ID cards, gym and library memberships, school or college forms, and visiting cards. Teachers and school admins can also drop student photos into the Student ID Card Generator to make printable ID cards for a whole class.
Conclusion
Making passport size photos at home comes down to four things: a plain light wall, soft front light, a correct crop, and printing at actual size. With the free Passport Photo Generator you can crop to 35 x 45 mm or 2 x 2 inch, add a white background and lay out a full sheet in a few minutes, then use the Image Resizer to make a small copy for online forms. Always check the latest official photo rules for your application before you submit. If you are unsure, the official guidelines from the issuing authority have the final say.
Frequently asked questions
What is the passport photo size in India?
The common passport photo size in India is 35 x 45 mm with a plain light (usually white) background. Requirements can change, so always check the latest official rules for your application.
Can I take a passport size photo with my phone?
Yes. Stand in front of a plain light wall facing a window, ask someone to take the photo from about a metre away at eye level, then crop it to the required size with a passport photo tool.
How many passport photos fit on a 4x6 inch sheet?
Usually around 6 to 8 photos of 35 x 45 mm fit on one 4 x 6 inch sheet, depending on the spacing left for cutting.
Why are my printed passport photos smaller than 35 x 45 mm?
The printer probably scaled the page. Print at 100% or actual size and turn off options like fit to page or scale to fit.
How do I reduce a passport photo to 50 KB for an online form?
Upload the cropped photo to an image resizer, enter the pixel size the form asks for, set the target file size to 50 KB and download the JPG.
Try Passport Photo Generator free on Doffl
Open Passport Photo GeneratorTags: Passport Photo, Photo Editing, Printing, Online Forms, India